How studio work in a day
Views : 2759
Author : Yan
Update time : 2021-01-21 22:07:14
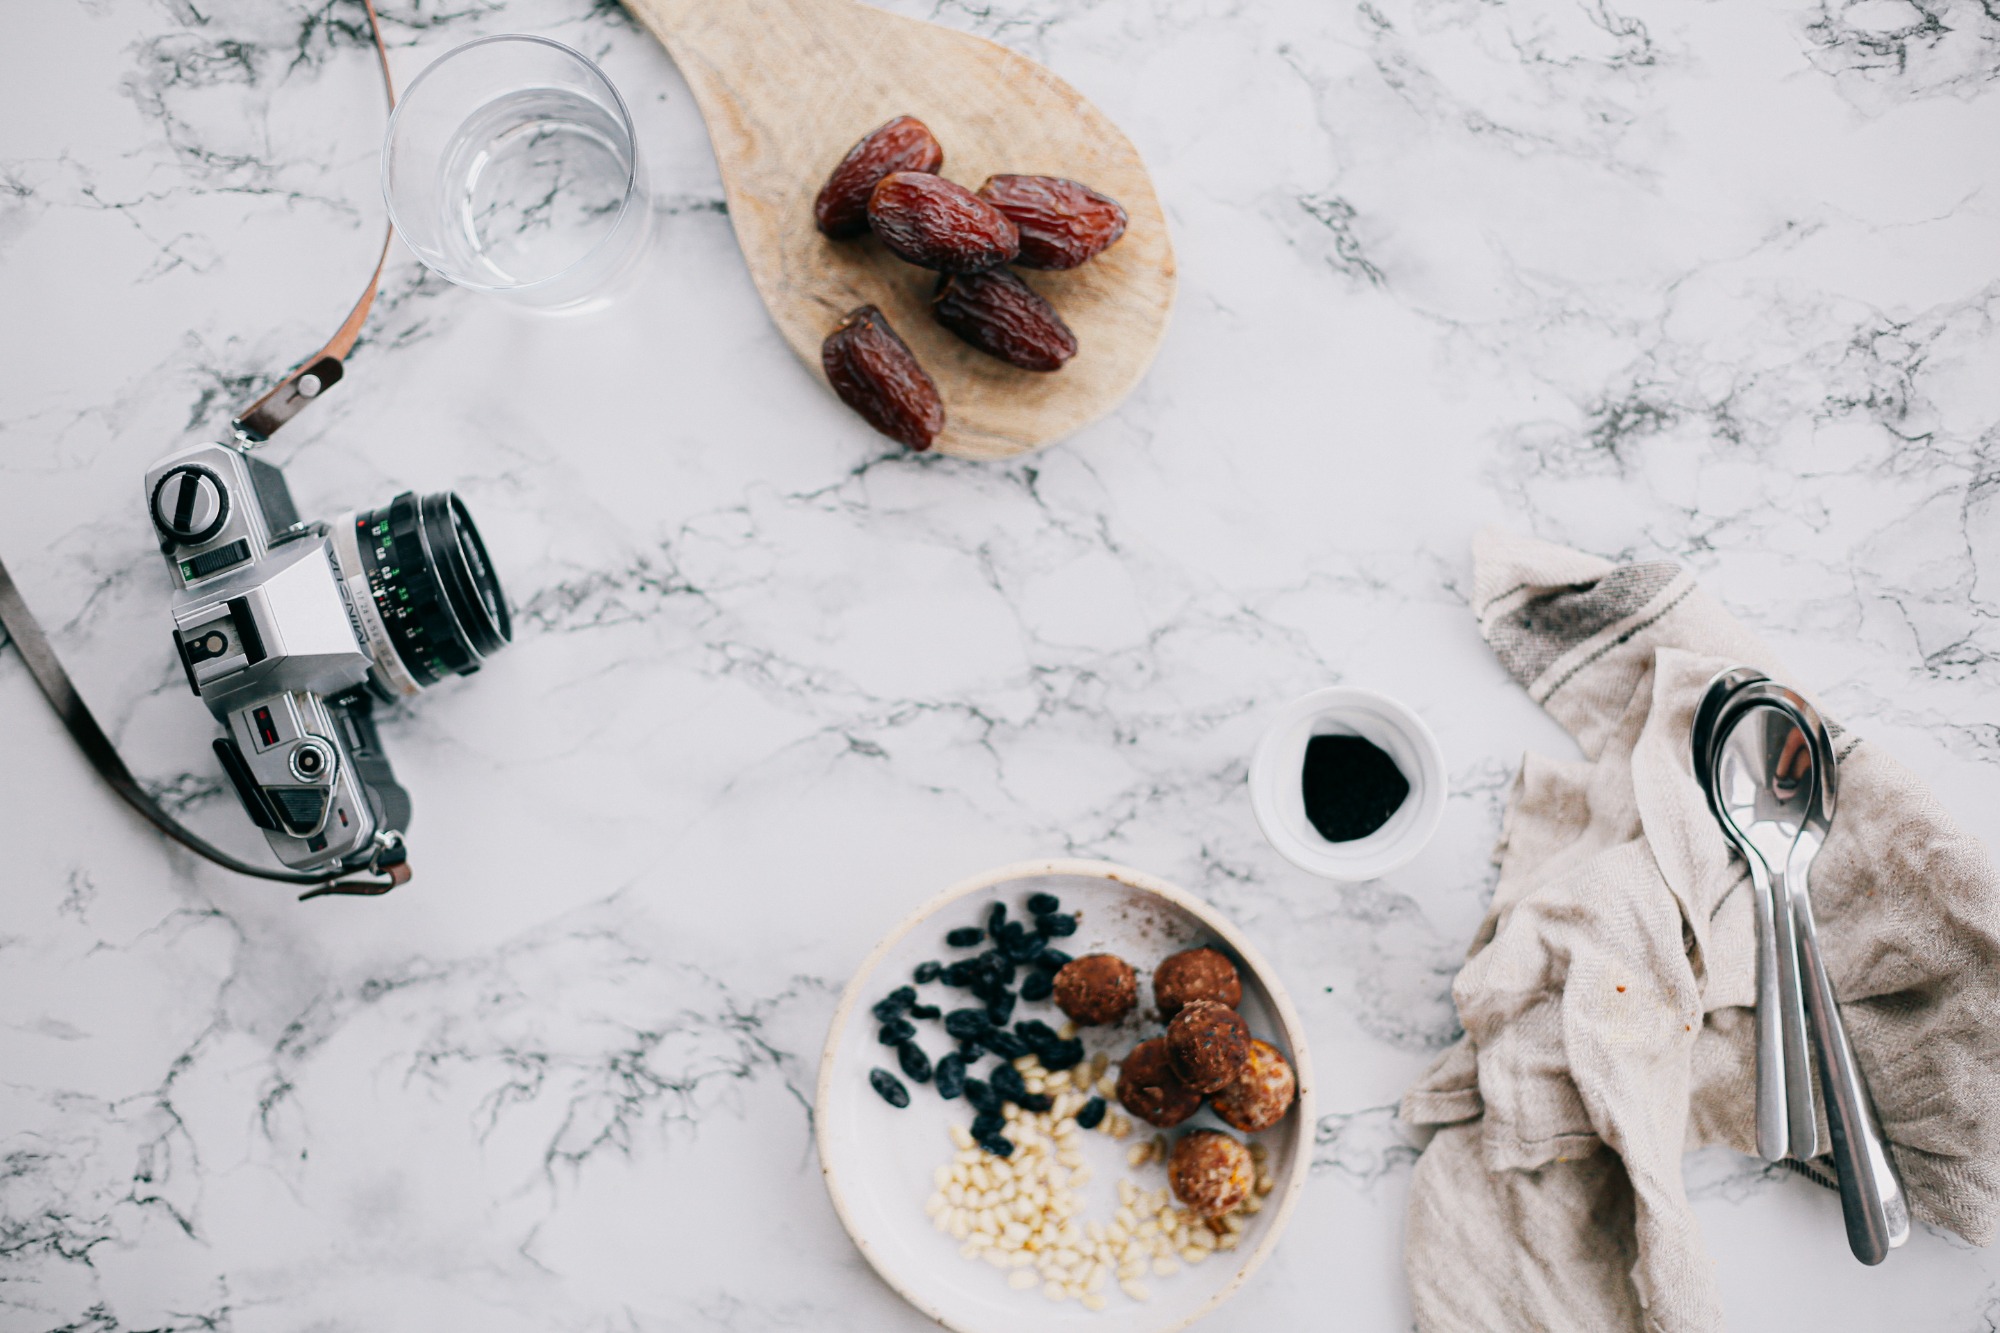
One of the biggest mistakes many photographers make when it comes to photography is focusing too much on gear. Now I'm not saying that gear isn't important, but I am saying that's not the only important thing.Everyone has heard of product photography, but only a few people really understand it. Product photography is not as simple as most people think, like putting a product on it and having a camera to shoot it, no, that's wrong. The key thing, if you want to truly master product photography, is not the best camera, latest lens, or top of the range studio lights. The most important thing you can have is a good understanding of light. This will serve you better than any piece of equipment you can buy.Once you understand light and how it works, you'll be able to control it to create almost any desired result.The studio's daily work seems to be repetitive, but in fact it is a little different, every day for the product to do things are constantly in the layout of the scene, changing the scene, lighting, etc.
So how do we all finish a picture?
1: Use proper lighting
Let’s start with product photography lighting. Without proper light, neither your product nor your background is going to appear how it does to you in person. “A white background without light doesn’t appear white in the photo, it appears grey,” says Tony Northrup in an article for the Digital Photography School.
There are two options for product photography lighting: studio lighting and natural lighting. The product that you’re photographing, the purpose of the photo, and the platform on which you’re advertising it will help you decide which setup to go for. Natural lighting can work really well for product photographs featuring edible items, people, and clothing, and these natural looking photos can work well in social media contexts, like Instagram.
2: Use a tripod
Tripods might sound like a nerdy, unnecessary piece of technical equipment, but they make a huge difference in the clarity and quality of your product photography. And they are not necessarily expensive or difficult to use!
Tripods are essentially stands that stabilize your camera from your shaky hand. Using a tripod will ensure a reduction of blur, which is critical if you want your product photographs to look professional and high-quality.
3:Shoot for the edit.
Have you ever stayed up late, half-awake, to write a paper and thought, “I can just edit this in the morning.” Then, once the morning arrives, you have to start the entire assignment over, because your first draft is so sloppy that it’s taking more time to edit than it would to just scrap it.
This is what happens to lazy photographers. If you think you can throw together some sloppy product photographs and work your magic on them in Photoshop, think again. While photography editing is a skill that can make a substantial impact on the quality of a product photo, these edits can only go so far.
When shooting your product photographs, try to shoot for the edit. With this mindset, you’ll shoot knowing that you plan to do minimal editing that will simply enhance the photograph without completely changing it. This will make for a far more desirable result.
4:Use simple props.
props can be welcome and help brighten the photograph for your viewers.
5:Follow the product photography specifications
When it comes to product photos that need to be used for some websites, there are some platform-specific rules that must be followed
Getting a perfect product photo doesn't come easily and requires many steps to complete. Once a studio have all the equipment, the camera’s settings just right and the fundamental editing skills down, it’s just about doing the same thing every time.
 Photography PricingHow Much Does Product Photography Cost in 2021?
 Product Photography Pros and Cons